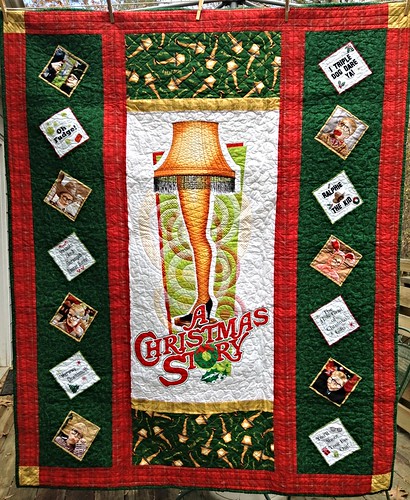
A Christmas Story Quilt - Finished!

This is a Christmas present for my husband, who doesn’t read my blog, incidentally.

A Christmas Story Quilt

It uses a panel for the center, and bits of the “vignette” panel from the same fabric line for the side borders.

The quilting took some time since I changed thread colors from green, red, gold, and white quite a bit, but burying all those threads was worth it, I think.

The quilting isn’t too fancy, but matching the thread colors to the fabric definitely helps!

I have to show it off at guild, and then wrap it up for him. Perhaps I’ll write “FRAGEELAY” on the outside of the present.

WIP Wednesday - Very Merry

Hallelujah and pass the Tylenol! It’s Thanksgiving break.  I took today as an extra day off, primarily under the guise of “making cheesecake”, which is about 15 minutes of prep and 3 hours of blissful-hands-off baking.  Secretly I just wanted to tell everyone at work to SHOVE IT, which would have been more effective if everyone hadn’t taken the whole week off while I worked Monday & Tuesday like a schlub. Also, my boss is in Canada so he has to attend to any priority items that pop up this week, which is pretty much a joke since true Marketing Emergencies are pretty rare unless an exec has a bug in their britches.

Anywho, today I ran around to a bunch of errands with my daughter, then settled in for making Oreo cheesecake, hermit bars, banana bread, apple bread, peanut brittle, haystack cookies, and dinner at some point.  In the past few days, I’ve not only finished my two organizers, but also these goodies:

Soup bowl cozies! To prevent burning one’s fingers while handling hot soup bowls out of the microwave. I made two each of two sizes, which we lovingly refer to as “bachelor size” and “regular size” at our house.

Alas, a poor quality photo due to late night picture taking!

I made sure to use 100% cotton batting and thread so there was zero chance of polyester anything melting in the microwave.

The tutorial was pretty easy to follow, although I did trim my darts to reduce bulk. I just used some 10″ squares from my scrap stash and wasn’t too picky about matching, so all four look different. And don’t really match my kitchen. The inside of the drawer I stuck them in doesn’t seem to care, though.

Also finished: Christmas Bunting!

This started as a Nancy Halverson 12 Days of Christmas flannel panel that I chopped into individual pieces.  I FMQed around the pictures with monofilament thread while they were backed with batting, and then backed with them various burgundy fabric. Then I busted out the bias tape maker and attached them all (in order from Days 1 - 12 because of OCD reasons), and as soon as Thanksgiving is over I hanging it over my fireplace.
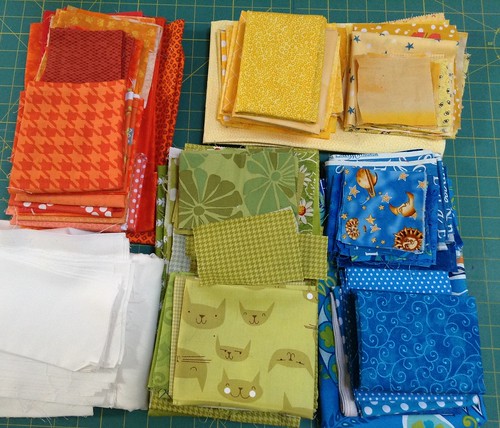
UntitledIn other exciting news: The Grand Illusion Mystery starts on Friday! And don’t forgot to join us on twitter and elsewhere for the Black Friday Sew In!

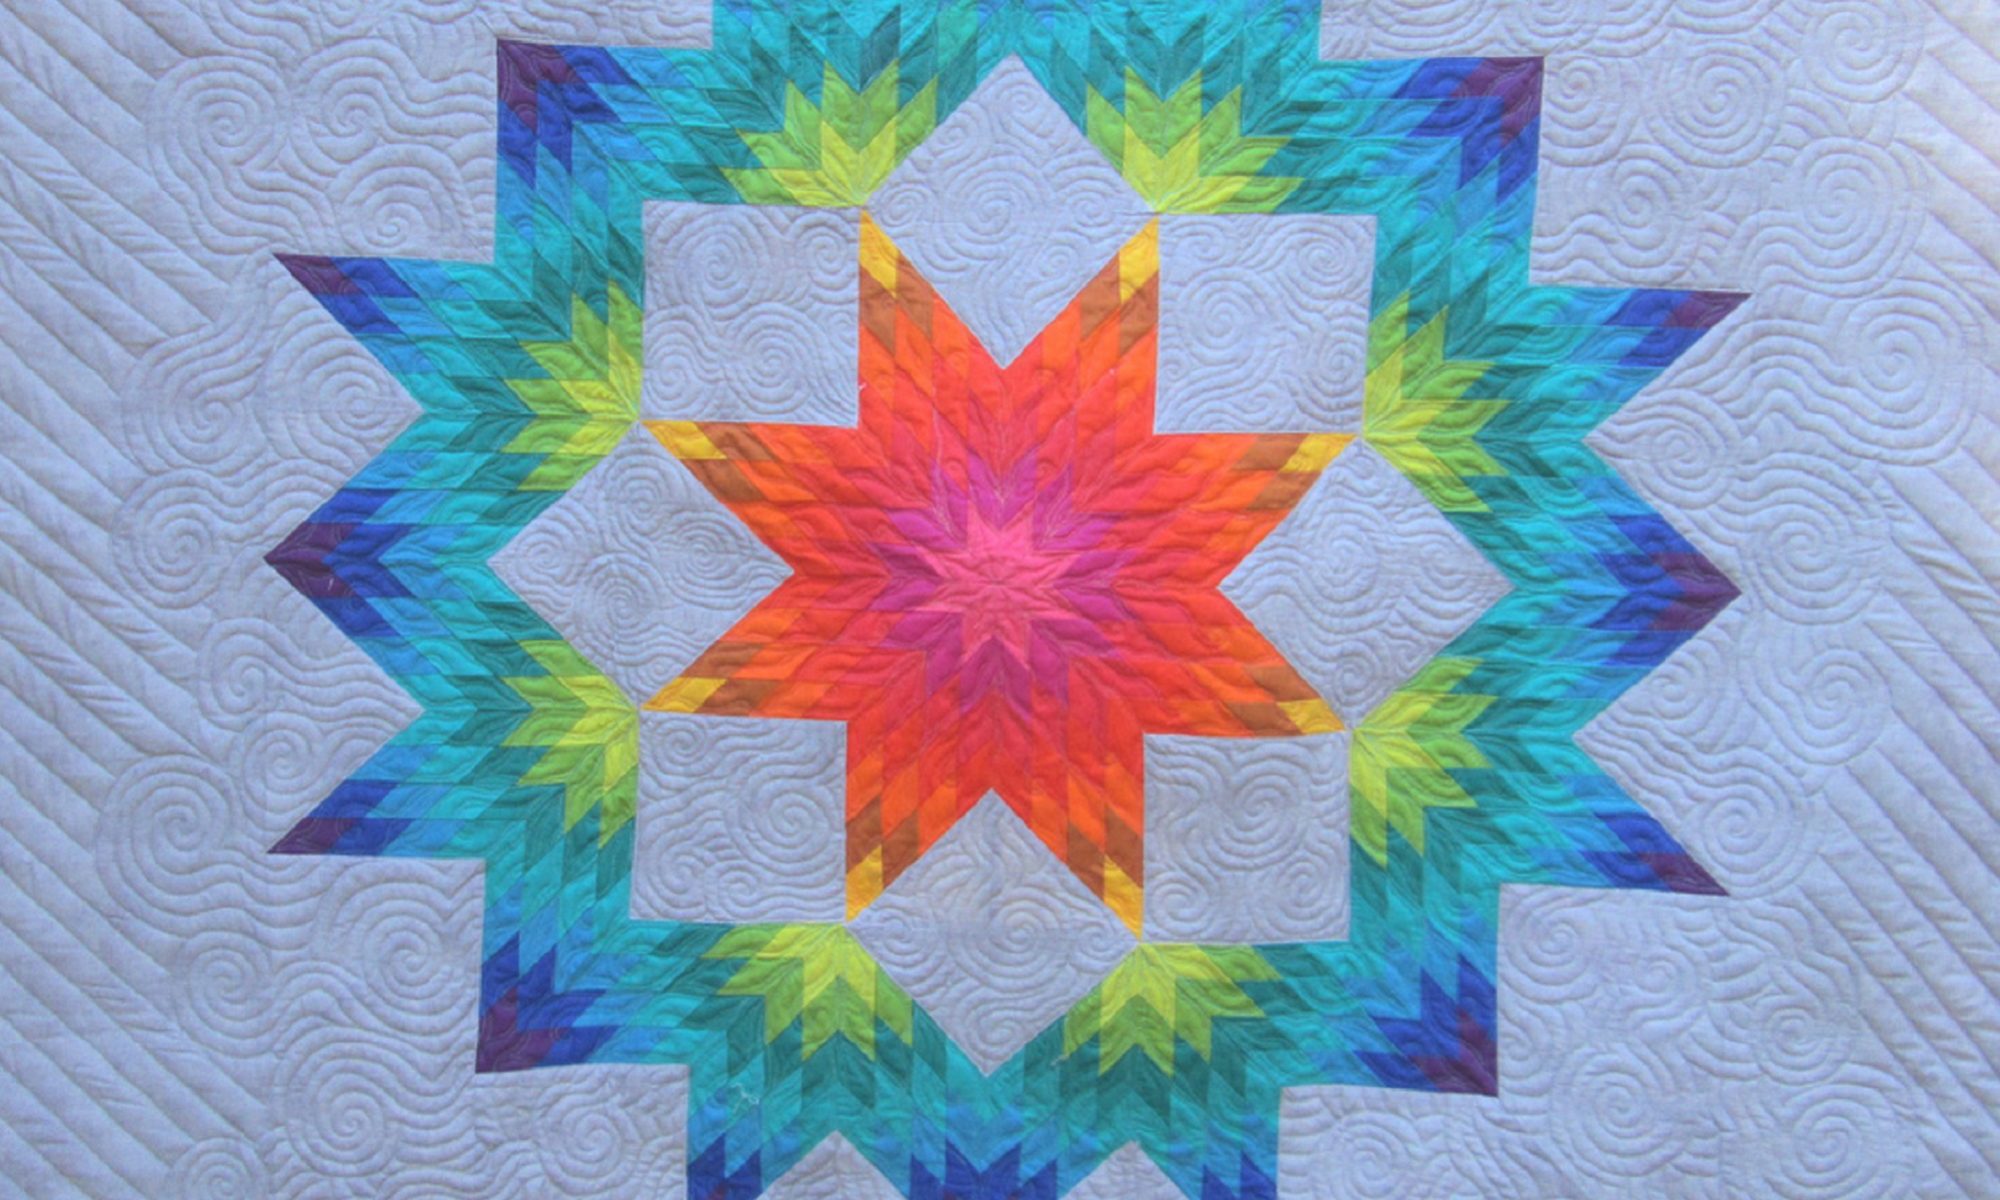
WIP Thursday

I took the picture for WIP Wednesday, but forgot all about posting in light of a LOT of things going on yesterday which included: fancy meeting with a lot of executives for work, a potentially sick child, and jury duty. The good news is I survived (as has everyone else in the family) and am packing for my quilt retreat.

Now for the panicky Retreat Tourette’s sets in where I randomly yell out things I need to remember to pack (LAPTOP! THREAD! UNDERWEAR!)

One of the things I’ll start on in the next hour or so is quilting this other funky Christmas quilt- I may or may not take it with me to retreat, but wanted to get a start on it at least!

Jim Shore Christmas Quilt - Finished!

After the FMQ frenzy of the Autumn Splendor tablerunner, I took it a bit easier on the math and the quilting on this panel project.  This Jim Shore panel had 8 pieces to it, which makes a horrible 2×4 layout on its own.  As mentioned before, I “Brady Bunch”-ed it and make an Ohio star for the Alice position.

The panel blocks are surrounded by 3 1/2″ squares from my scrap stash, drawing on the Christmas fabrics that have been used in other projects with some complementary blues as well.  I added an extra border of 5″ squares at the top and bottom to give the quilt a better ratio.

The center star got a Christmas tree quilted into it and some small-ish feathers in the star points.

The rest of the quilt got the ol’ meander treatment until I got to the Santa faces, which got outlined in the hats and beards so I didn’t feel like I was scribbling over Santa’s face.  I have a feeling that might get me on the naughty list and I need a new vacuum cleaner this year.

This is going in the gift closet so I can keep it protected from cat hair until it’s ready to go to its new home!


Autumn Splendor Tablerunner - Finished!

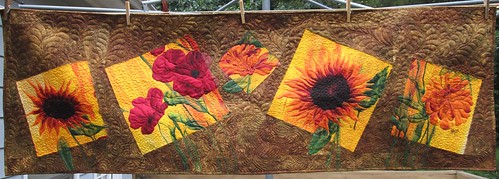
Woohoo! At long last, here is my official WINNING entry for the AMQG panel challenge.  But first, here is the humble, unpressed beginning panel.

It was very tempting to just add some borders and do some fancy quilting, but I wanted to elevate it a bit.

After a LOT of math and sewing on the bias, here is what I ended up with:

Autumn Splendor
I chopped up the flowers into 10″, 12″ and one 6″ finished pieces and set them a bit askew.  The brown fabric is a Stonehenge print that works well with the watercolor look of the original panel, I think.

When it came to quilting the individual blocks, I wanted to think outside the block a bit and extend the leaf or petal shapes outside the block with the quilting lines.  You can see it in the stems on the poppy and the leaf in the center orange flower.
To further emphasize it, I colored in the extensions with the appropriately colored Shiva paintstick.  It’s subtle on the brown, but that’s what I wanted.

For each of the flower blocks, I quilted within the shape of the flower, adding bits of texture like the pebbling in the center of the sunflower.  I wanted the flowers to pop so those have a bit less quilting than the background - a simple meander in the yellow background of the block.

Ultimately I wanted to try McTavishing since I wanted to use it on a pending project, and then I realized there was QUITE a bit of threat and repetition in it and I got a bit sick of it! I ended up using McTavishing at the bottom of the piece, then I morphed into feathers towards the middle of the piece with some more pebbling to fill in the gaps.

I am very happy with it, and I won first place by popular vote in the panel challenge. In my choice of prizes, I picked a twin-size batting so I can make even more quilts!

A Little Birdie Told Me - Finished!

When I finished this quilt, I thought to myself, “This is the sort of quilting I should be putting on every quilt.” Not a slap-it-on meander, as is my typical style, but a thoughtful and sometimes skillful design that enhances the top itself.

Since this was for a panel challenge, I treated each panel section with custom quilting, outlining various elements and meandering in the background. The star-in-a-star got similar treatment with some little feathers in the star points.  The tilted frames got pebbles of ascending size (you can see it in the pink frame around the side bird).

Here’s a closer up shot of the big panel. Apologies for the harsh lighting, but it was the best what I could show the quilting on it!  The frame for this piece got big “L” loops around it.

And then, because I needed to stay in practice, feathers! Feathers that I made without marking, even!

Truthfully, this blue border was the last one I did because it was solid fabric and I wanted to be warmed up before attempting it.  The printed fabric borders hide goofs better.

I need to label this quilt, and then I’ll sit on it until the October AMQG meeting when we do our Panel Challenge reveals. I’ve got another panel to work with before then, too, but it will be simple piecing and some intense quilting as well. Yikes.

Robot Love - Finished!

Before pictures, a conversation with my brain:

Me: Wow. I’m excited that I finished Memories of Provence. I should work on that twister quilt, or maybe start the next Weekender Bag.

My brain: Robots!

Me: Uh. Nope. We have a list.

My brain: BEEP. BOOP.

Me: So… twister quilt then?

My brain: BEEPBOOP MF’er.

Me: What does the Millennium Falcon have to do with this?

My brain: Not that MF. The *other* one.

Me: Oh… That’s not very nice.

My brain: ROBOTS! BEEPBOOPBEEPBOOP!

Me: Ugh. Fine.

So I made a robot quilt.

I’d had this panel, a Cosmo Cricket 2007 or so vintage, in my stash for a while. I used part of it to make a bag, but had these 3 robot and 3 cog panels left.  Since I have a cousin whose wife is expecting next April, and we just found out it’s going to be a boy, I indulged my brain. This one time.

I pieced some 3 1/2″ squares to embiggen the cog panels to the same width as the robot panels. Then I pieced some 5″ squares to space the cogs and robots into two longish strips. AND THEN I used more 5″ squares to make the center strip, and pieced it with the turquoise to make the center.  The green inner border is a grunge print from Basic Grey, and the outer border (and back) is from Rashida Coleman-Hale’s Cutebot line from a couple years ago. The whole thing measures 44×54″.

For the quilting, I wanted to do something different, so I used the “Geometric Allover” design from Angela Walters’ book.  It required a bit of backwards thinking because in order to travel and make the crossings in the pattern, you have to stitch away from where you want to go and make a 270 degree turn via a square instead of just turning 90 degrees. Just to mix it up, I quilted a little heart on each robot’s chest, and in the center of the cogs.

Sometimes my brain has good ideas.